Weaving the Waitaki tartan is a passion project for us.
We had thought about doing this for years, but it was always in the too hard basket. One November day in 2022 it suddenly became important that we did it, before we couldn't. We are delighted that you are following our progress. We trust you will love this project as much as we do, and support us in telling
some of the stories of the Waitaki.
The three goals for our Waitaki tartan collection are ...
To design and weave a tartan fabric that tells some of the stories of the Waitaki; the land, river, and people – with authenticity and respect.
To produce a commercially viable artisan fabric with a limited carbon footprint, as locally, sustainably and ethically as possible.
To create a sustainable, marketable, registered tartan design, as a legacy
for future Waitaki culture and heritage fundraising opportunities..
Follow the process of weaving the Waitaki tartan ...
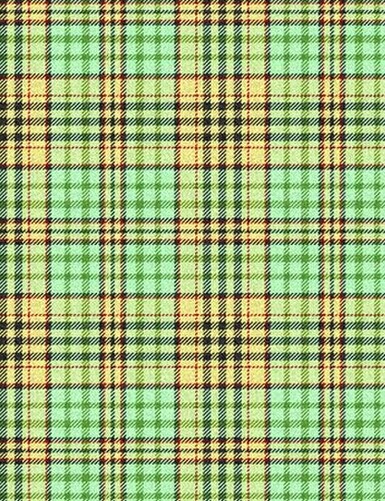
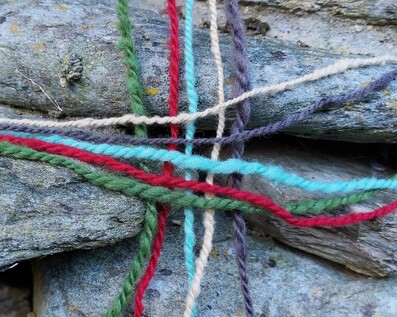
We used a free online tartan generator to work out the design for our Waitaki #1 warp. As mentioned on the designing page, it took a lot of thinking about the stories we wanted to tell, and how we could do that within the limitations of our c1895 Hattersley Domestic Weaving System. We perservered, and are both really happy with the final outcome.
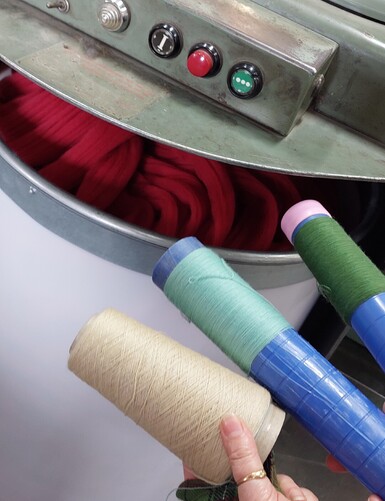
Following the fleece being scoured in Timaru and dyed here in Oamaru, we took it to Wild Earth Yarns in Christchurch for spinning. We are really happy with the qualty of the spinning they have done for us.

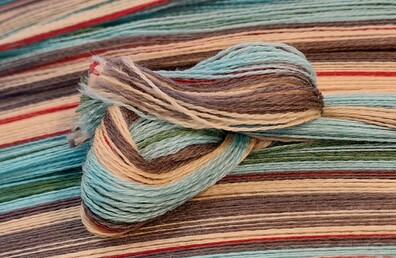
The fleece is spun into really fine yarn, and then two strands of it are twisted together to make it stronger, and easier for us to weave. There are no chemicals or special finishers used in this process, it's just natural wool dyed and spun as ecologically as possible.

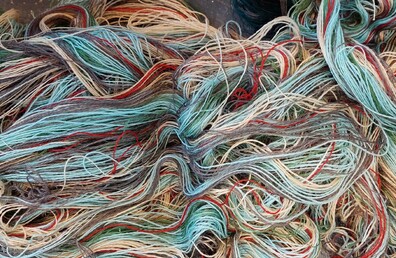
In order to make a fine, clean yarn the fleece is combed multiple times, resulting in all the fine, wayward fibres being removed from the finished product. This 'wastage' is sent to be made into insulation, also in Christchurch.

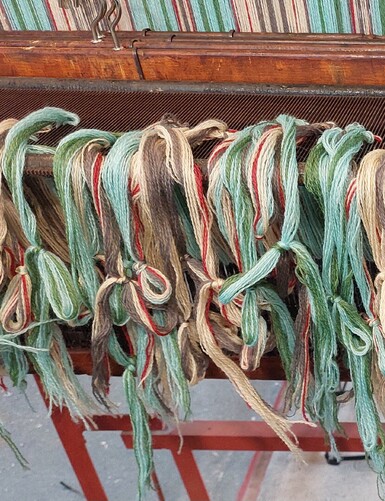
Cones of our wool, grown and processed as close to home as was possible. One of the joys of being invested in a project like this, is the pleasure we get from knowing that we are supporting local, and being part of a team producing quality New Zealand textiles.
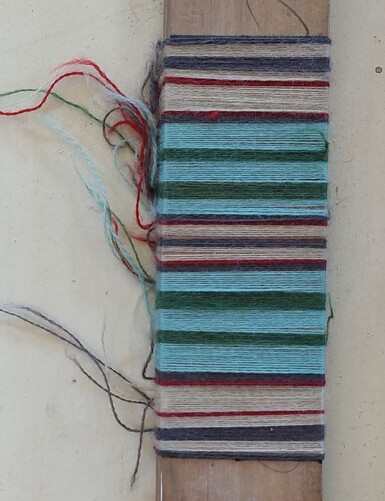
Once some yarn arrived from the wonderful team at Wild Earth Yarns in Christchurch, we were able to complete this winding. It showed us how the colours worked with each other, and we were able to make sure that our estimate of 40 ends per inch, which equals 120 ends per three inch section, would actually work.

Our plan, sitting on the empty warping frame, waiting for the yarn to be wound off the cones and onto the bobbins.

The warping frame starting to fill with bobbins. Just like a computer programme, the bobbins have to be placed in their correct place in the pattern. Everything has to be precise. It all takes time, but that's part of the process of working with heritage machinery. We believe some of these bobbins are well over 100 years old.

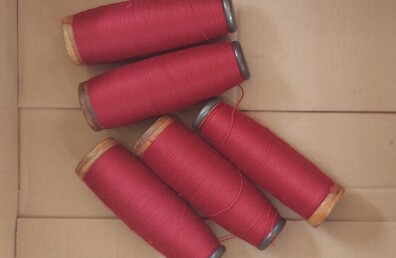
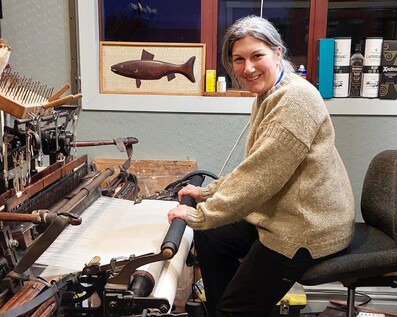
The 120 bobbins that make up the first three inch section of the warp are finally on the frame. To the right you can see the dark green selvedge threads. These are a strong yarn, and will help hold the fabric firm while it is being woven. Once Rod has wound these onto the mill, he will remove them all, then put them all back on in the reverse order to make the next three inch section.

Here is Rod threading the ends through the reeds in preparation to being wound onto the mill. Each thread has its own gap in the first reed, and then four ends are threaded through the second reed. This is a really importand part of the process as it ensure the threads don't get crossed or tangled, and cause trouble later on during the weaving.

Keeping everything tensioned is important at each step of the process. Here the 120 ends are wound through the rollers and knotted to go over the screw on the mill.

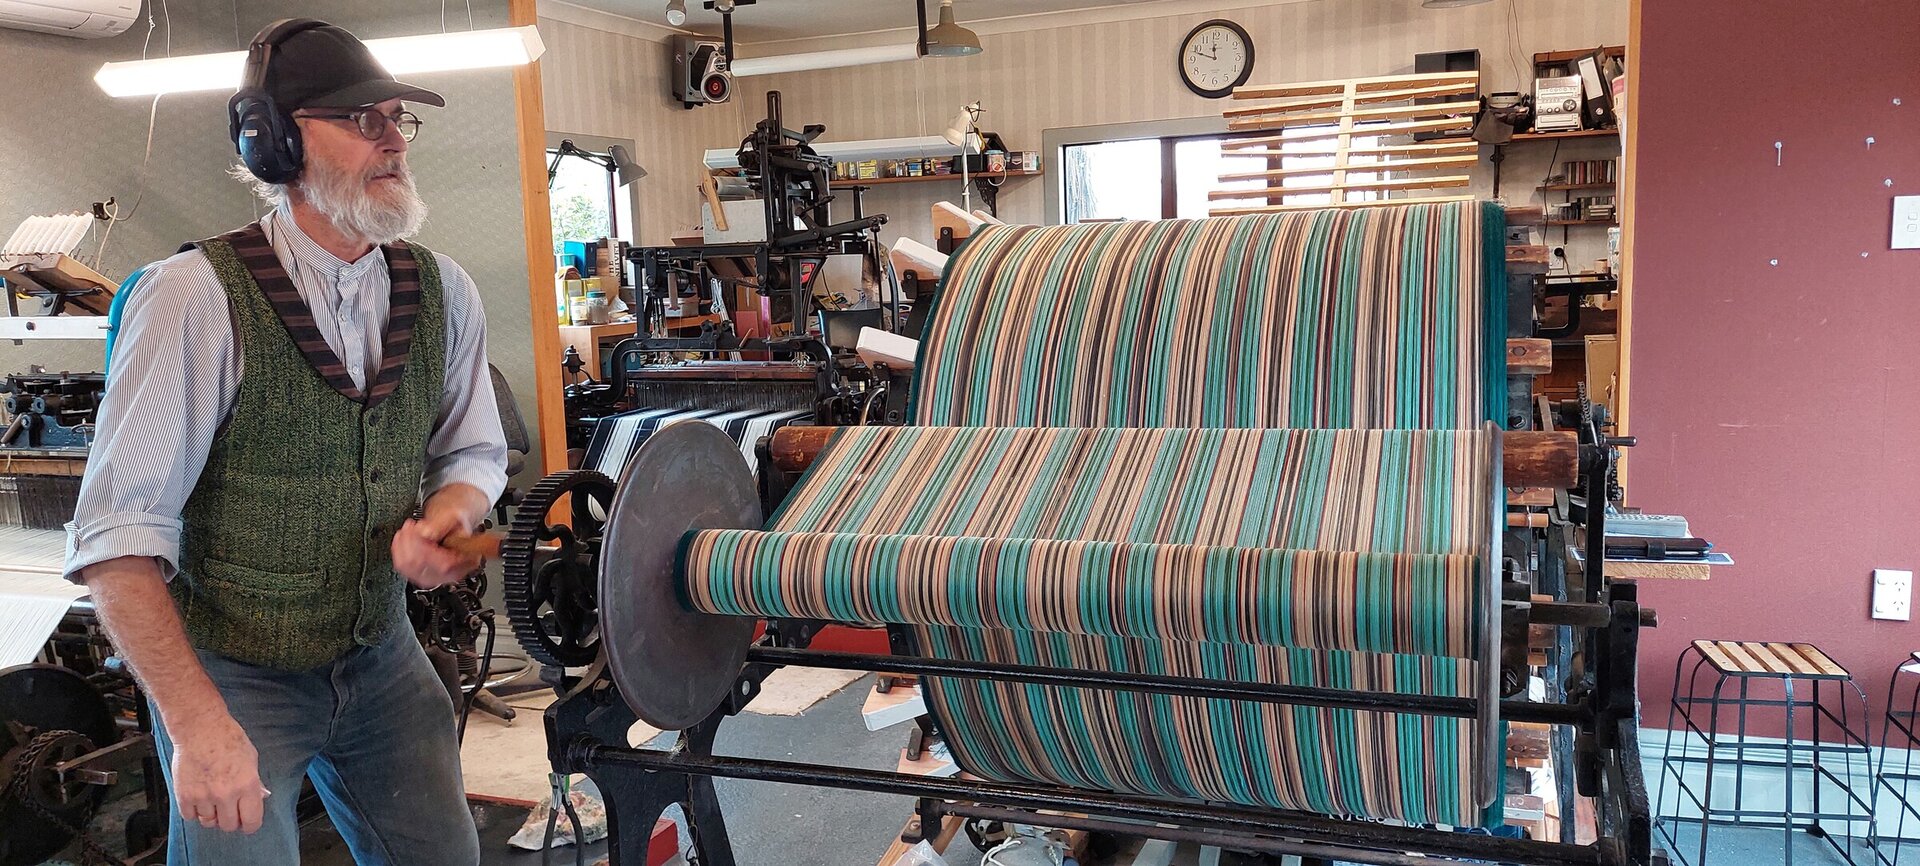
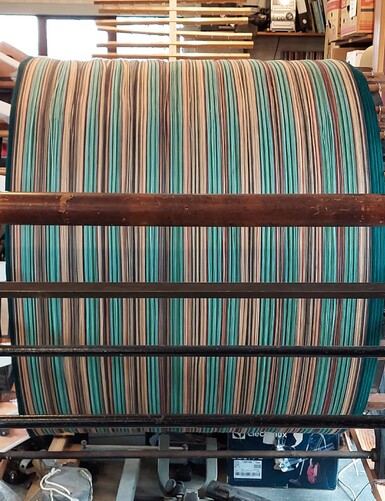
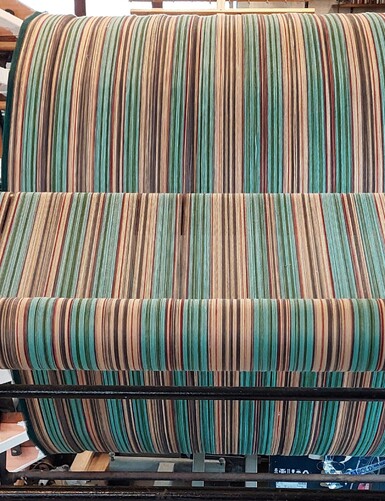
The first three inch section wound onto the drum. You can see the selvedge to the left. It looks wider than three inches because the warp is wound onto the drum on a slope so it doesn't collapse off the end of itself. We've found this adaption Rod designed has helped, especially when we are warping up for really long, eg. 200 metre warps.

Inside the drum, where you can see the slope of the selvedge threads, creeping up the white painted wooden block on the left.

The reminder to tell Rod when to stop winding yarn on. The number on the counter has to match this, otherwise the warp will have different length sections in it. 325 should give us approximately 60 finished metres of weaving, depending on shinkage during the fulling process.

Two sections are now on the drum, that's six inches of potential cloth. You can see the reversed pattern, creating a symmetrical design.

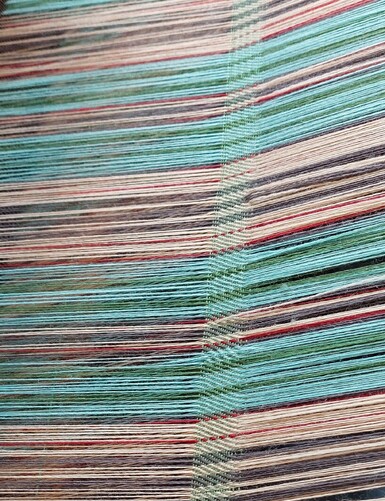
And now there are four sections wound on and we can start to see more of how the finished textile will look. Prototypes are exciting!

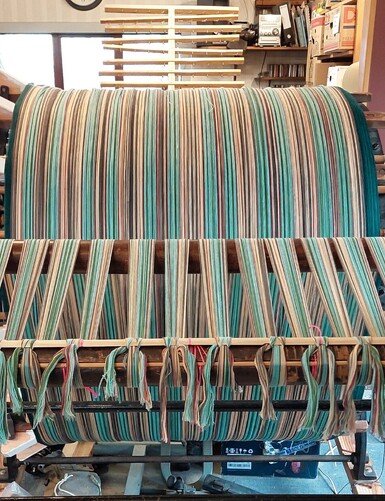
Here Rod is securing the sections of warp thread to the stick that will be wound onto the back beam. He has to tension everything as evening as possible during this process.
CARE INSTRUCTIONS
Please wash this fine Merino wool product with care. Avoid snagging. We recommend washing
gently by hand using and eco-friendly wool wash. Dry flat. Cool iron.
DO NOT MACHINE WASH OR TUMBLE DRY.
